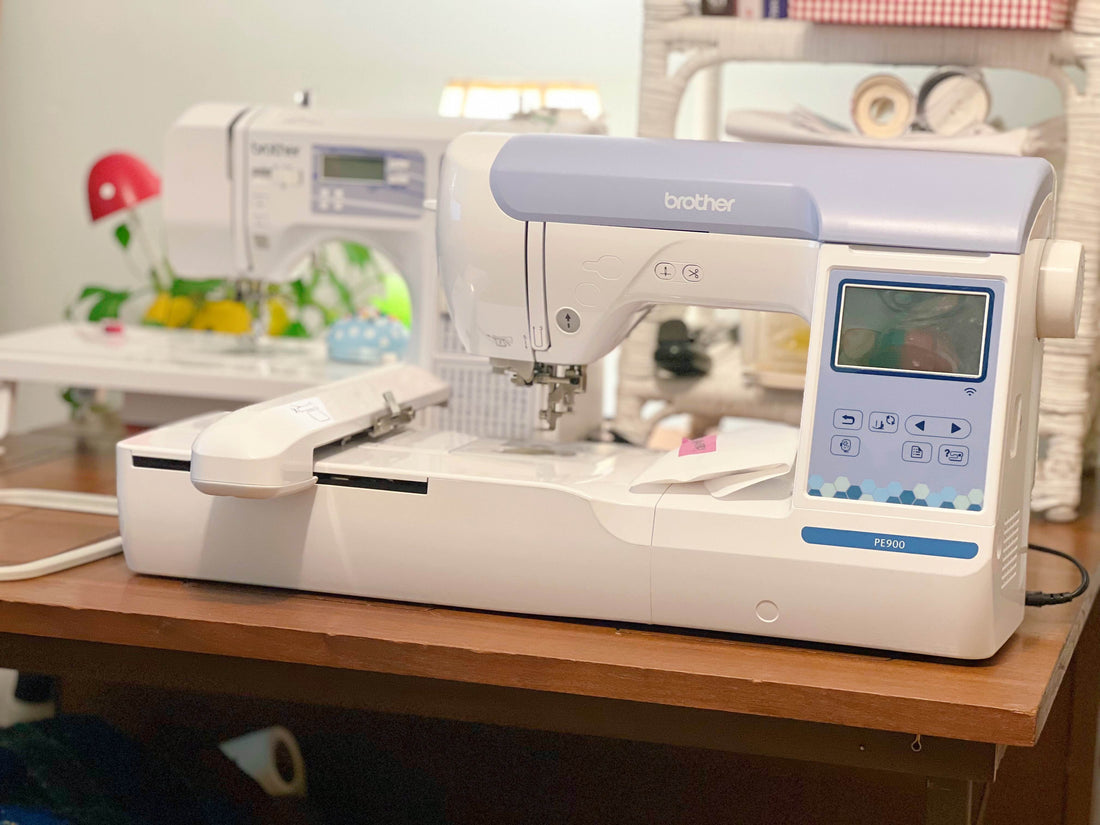
At Home Embroidery with the Brother PE900: Full Step-by-Step Tutorial on Creating Your Own Custom Embroidery Designs for Free
Are you afraid to make an embroidery machine purchase because you can't really find the process of getting your own designs to the embroidery machine? I WAS TOO. But I took the risk and figured it out. And I'm happy to say, you CAN make your own embroidery designs with this handy-dandy, Brother PE900. Let me take a moment to say thank you Brother for making awesome products. The best part? This will cost you $0. $1200 software? Nah, you don't need it! Let me show you.

Note: Although we are going to be working with a Brother PE900, you can definitely use this method or parts of this to achieve your own custom embroidery on a different machine.
Step 1: Create or obtain your SVG.
I chose to use Adobe Illustrator for this, but you can also use any free software like Inkscape (which is the software we have to download in the next step anyhow). Creating SVGs are their own beast and we won't be focusing on the creation of them in this blog post. I'll be using this logo I created for my husband's landscaping business.
Step 2: Download and install the software Inkscape.
Inkscape is a powerful, free design tool we are going to be using to convert a SVG file into a PES file. A PES file is a file format primarily used by Brother embroidery machines. It contains stitch data, machine commands, and color information needed to guide the embroidery machine in creating a design.
Step 3: Download and install the Ink/Stitch Extension for Inkscape.
Ink/Stitch is an open-source machine embroidery design platform based on Inkscape.
Step 4: Open your SVG in Inkscape.

Go to File > Open... and select the SVG file you want to convert.
Note:


You can adjust embroidery settings - like maximum stitch length and tolerance - by going to Extensions > Ink/Stitch > Params. I would suggest skipping this step your first embroidery. You can always tweak from the default after.
Step 5: Generate the PES file.

Go to Extensions > Ink/Stitch > Visualize and Export > Stitch Plan Preview. Uncheck Move stitch plan beside the canvas. Click Apply.
Step 6: Save as PES.
In the save dialogue, choose 'pes' as the file type. Save.
Step 7: Turn on your embroidery machine.
Step 8: Open Brother Design Database Transfer.
If you're installing the Brother Design Database Transfer software from this link - the link to download is halfway down the page - NOT the free trial to PE-DESIGN11 at the bottom.

Locate your PES file. Select your PES file by clicking the PES's image within the interface. Select where to send the PES file by selecting your embroidery machine in the dropdown menu. Click Add to Writing List.


The file's image should be duplicated in the area below. Transfer the image by clicking the icon with the sewing machine, Wi-Fi signal, and arrow.

Once successfully transferred to your embroidery machine, a pop up will say Finished outputting data.
Step 9: Locate the file on your embroidery machine.


